
Have you ever spotted an unfamiliar insect in your collections storage area and wondered whether you should be concerned? Maybe you've noticed a few dead bugs along a windowsill, discovered tiny holes in a historic textile, or found evidence of pests while moving boxes. It's not always easy to know whether these discoveries indicate a larger problem, particularly if you don't know what kinds of pests are present in your building.
One of the simplest and most affordable ways to begin protecting collections from insect activity is to establish a basic monitoring program using sticky insect traps. These small, inexpensive tools can provide valuable information about what's happening in your building and help you identify potential problems before they cause significant damage.
Pest Monitoring and Integrated Pest Management
Pest monitoring is one component of Integrated Pest Management (IPM), a preventive approach to managing insects, rodents, and other pests. Rather than relying primarily on chemical treatments after a problem develops, IPM focuses on reducing conditions that attract pests, identifying activity early, and responding appropriately when problems arise.
For libraries, archives, museums, and historical societies, IPM is an important part of preventive collections care. Good housekeeping, building maintenance, controlling food sources, inspecting incoming collections, and monitoring for pest activity all work together to reduce the risk of damage. While an effective IPM program involves more than setting traps, monitoring is a practical place to begin because it helps institutions understand which pests are present and where they may be entering or living in the building.
What Are Blunder Traps?
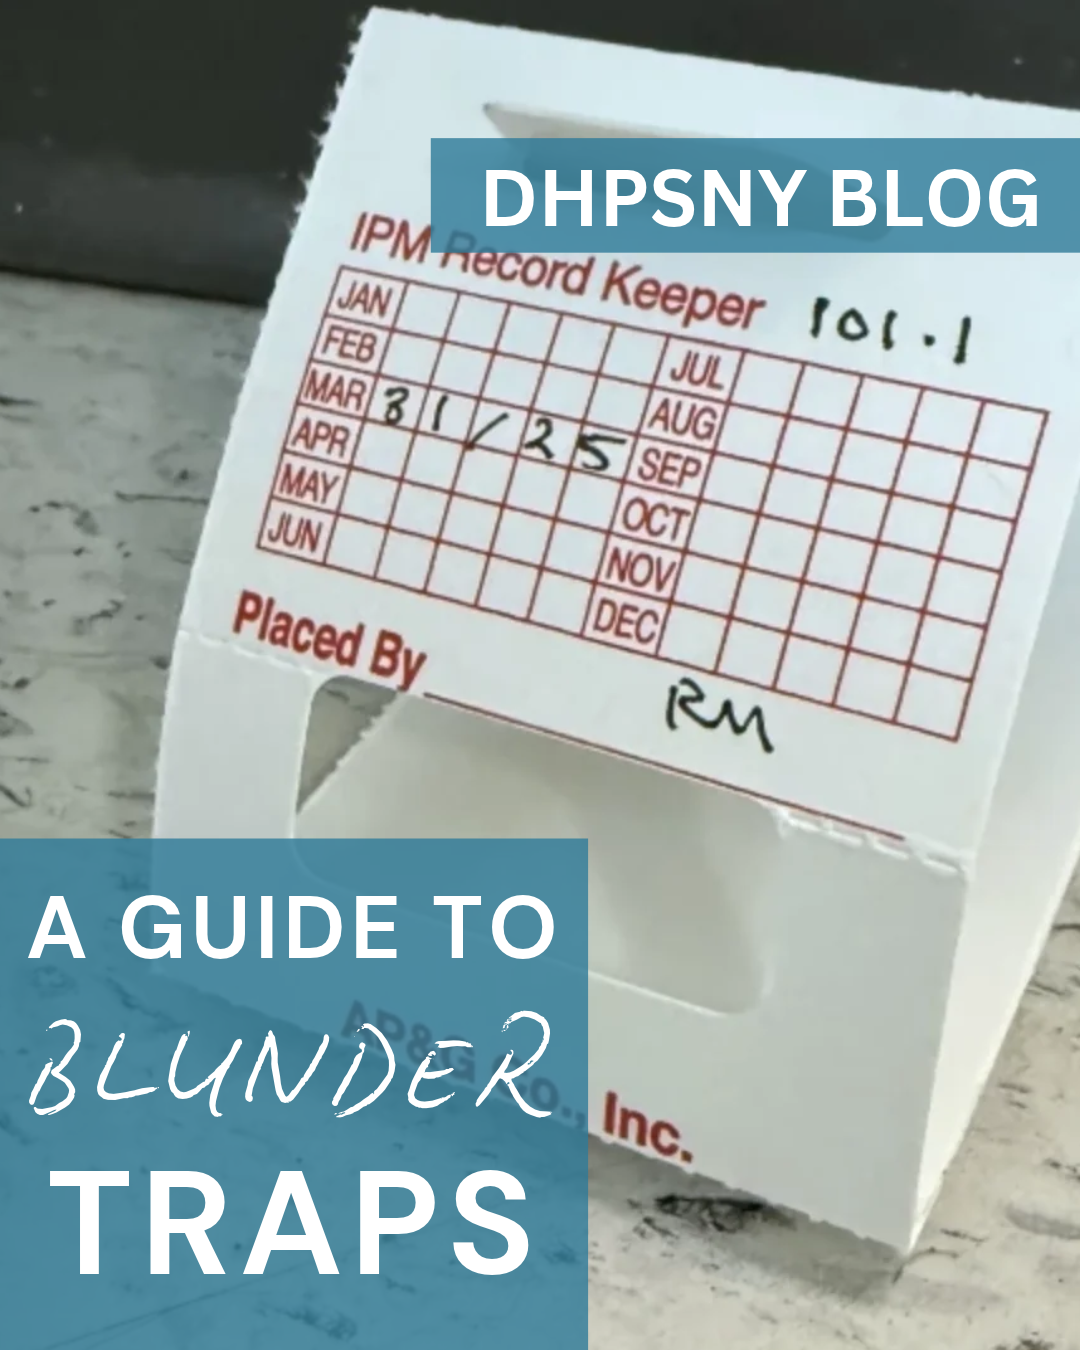
The traps commonly used for general insect monitoring in collecting institutions are called blunder traps, also known as sticky insect monitoring traps. These are small, usually cardboard traps with an adhesive surface that captures crawling insects as they move through a space. They are often folded into a tent or triangular shape, which helps protect the adhesive from dust and accidental contact.
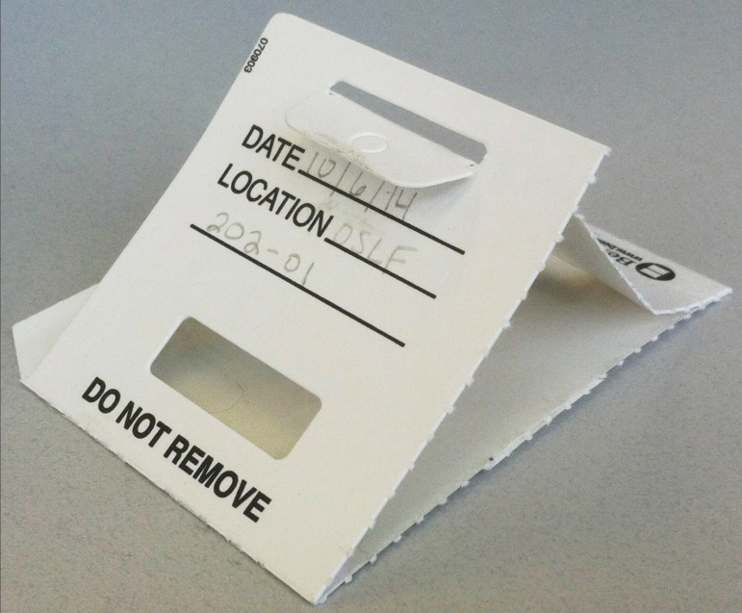
A cardboard blunder trap labeled with its placement date and location. Recording this information helps staff track and document pest activity over time. Image: University of Illinois Libraries Preservation Assessment Program
Unlike traps designed to attract specific pests, standard blunder traps don't typically contain bait or other attractants. Insects are caught simply by wandering across the adhesive surface, which is where the name “blunder trap” comes from.
You may also encounter the terms sticky traps or glue boards. Although these terms are sometimes used interchangeably, glue boards often refer to larger traps with stronger adhesive intended for rodents. For routine insect monitoring in collections areas, simple cardboard blunder traps are generally a good starting point.
It's important to understand that these traps are primarily monitoring tools, not a way to eliminate an infestation. Their purpose is to help you recognize what insects are present, where activity is occurring, and whether that activity changes over time.
Where Should You Place Them?
When deciding where to place monitoring traps, we like to encourage institutions to "think like a bug." If you were a small insect moving through a storage room, where would you travel? Many crawling insects prefer to move along walls, edges, and other protected pathways rather than venturing across open floors. Thinking about these routes can help you position traps where insects are most likely to encounter them.
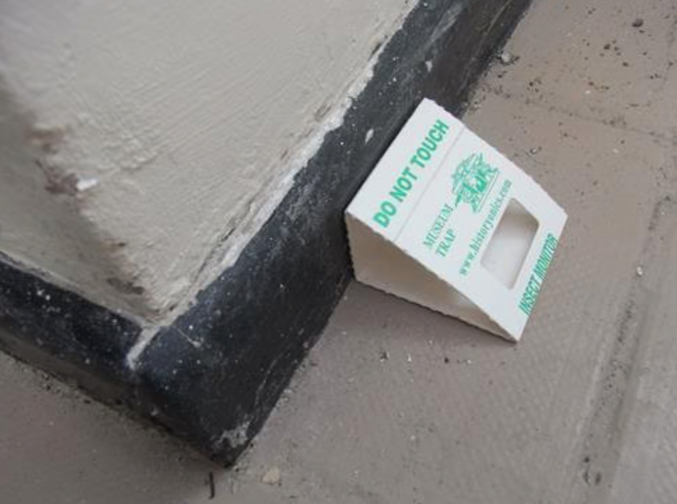
A blunder trap placed against a wall and baseboard. Positioning traps along walls and other protected pathways increases the likelihood of capturing crawling insects. Image: Restore Products
Begin by looking at the layout of your collections spaces and considering where insects might enter or find favorable conditions. Good starting locations include along walls and baseboards, in corners, near doorways and windows, beside storage shelving, and near potential moisture sources such as sinks or drains. Areas containing particularly vulnerable materials, including textiles, upholstered furniture, and natural history specimens, may warrant additional attention.
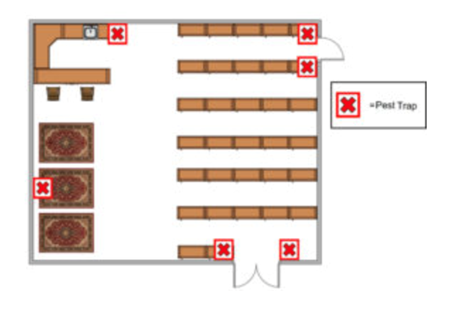
Example of monitoring trap placement in a collections space. Traps are positioned near vulnerable materials, a sink, and entry doors to monitor areas where pest activity may be more likely. Image: Museumpests.net
You don't need dozens of traps to get started. A few strategically placed traps in each collections area can provide a useful baseline, and you can adjust their number and locations as you learn more about activity in your building. Be sure to position traps where they won't be disturbed during routine activities and where the adhesive cannot come into contact with collection materials.
Checking Traps and Keeping Records
Placing traps is only the beginning. The real value of monitoring comes from inspecting them regularly and documenting what you find. Without a consistent process, it's difficult to determine whether pest activity is increasing, decreasing, or concentrated in a particular area.
Before placing your traps, label each one with a unique number or location identifier and mark its position on a simple floor plan. Record the date each trap was placed and establish a realistic inspection schedule. Monthly checks may be a manageable starting point for many small institutions, although the frequency should reflect your building conditions, collection risks, and any known pest activity.
During inspections, record the number and types of insects captured in a basic pest log. You may not be able to identify every insect immediately, and that's okay. Photographs and identification resources can help you learn to recognize common collection pests over time. Replace traps when they become dirty, full, damaged, or lose their adhesive properties, and document any changes to their locations.
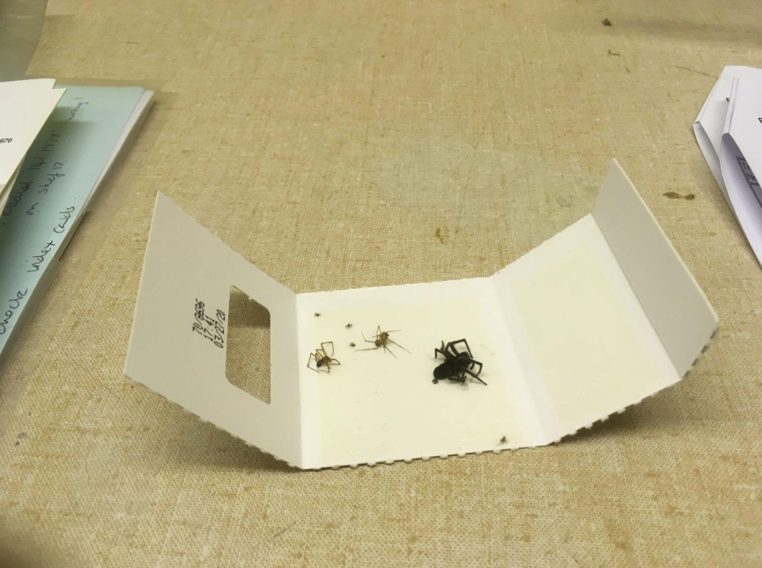
An opened blunder trap showing captured insects. Regular inspections help staff identify pests, document activity, and recognize patterns over time. Image: Elmbridge Museum
As you accumulate monitoring records, you can begin looking for patterns. Are insects repeatedly appearing near a particular doorway? Has activity increased in a damp storage area? Are you finding the same type of insect in multiple locations? These observations can help you identify conditions that need attention and determine whether additional investigation or professional assistance is necessary. Not every insect found in a trap poses a threat to collections, so identifying what you've captured is an important part of determining whether further action is needed.
Taking the Next Step
A basic monitoring program doesn't require specialized equipment or extensive training, but it does benefit from consistency. Start with a manageable number of traps, establish a routine for checking them, and make sure someone is responsible for maintaining the records. Over time, the information you collect can help guide housekeeping, building maintenance, and other preventive measures.
For additional guidance on trap placement, insect identification, and monitoring records, visit MuseumPests.net, which offers practical resources and sample tools developed specifically for cultural heritage institutions.
Want to learn more about protecting your collections from pests? Join DHPSNY on Wednesday, December 9, 2026, for our upcoming webinar, Introduction to Integrated Pest Management (register at the link below). We'll explore how monitoring fits into a broader IPM program, recognize common signs of pest activity, and discuss realistic, low-cost strategies for prevention and response in collecting institutions.
Register for the December 9 webinar
Do you have a preservation topic, question, or creative solution you would like us to cover in this series? Reach us by email at info@DHPSNY.org, or connect with us on the DHPSNY Facebook page or DHPSNY Community Facebook Group.
Title graphic image: National Park Service